

Key Takeaways
- Understanding shade function — transition, lid, crease, and liner — unlocks any neutral palette's full range.
- Blending technique matters more than the exact shades you choose; mastering it multiplies your look options.
- Strategic colour placement, not more products, is what separates a flat look from a dimensional one.
- Matte shades build structure; shimmers and satins add light — mixing both creates professional-looking depth.
- Most neutral palettes contain enough variation to create daytime, office, and evening looks from the same pan selection.
Understanding Your Palette Before You Start
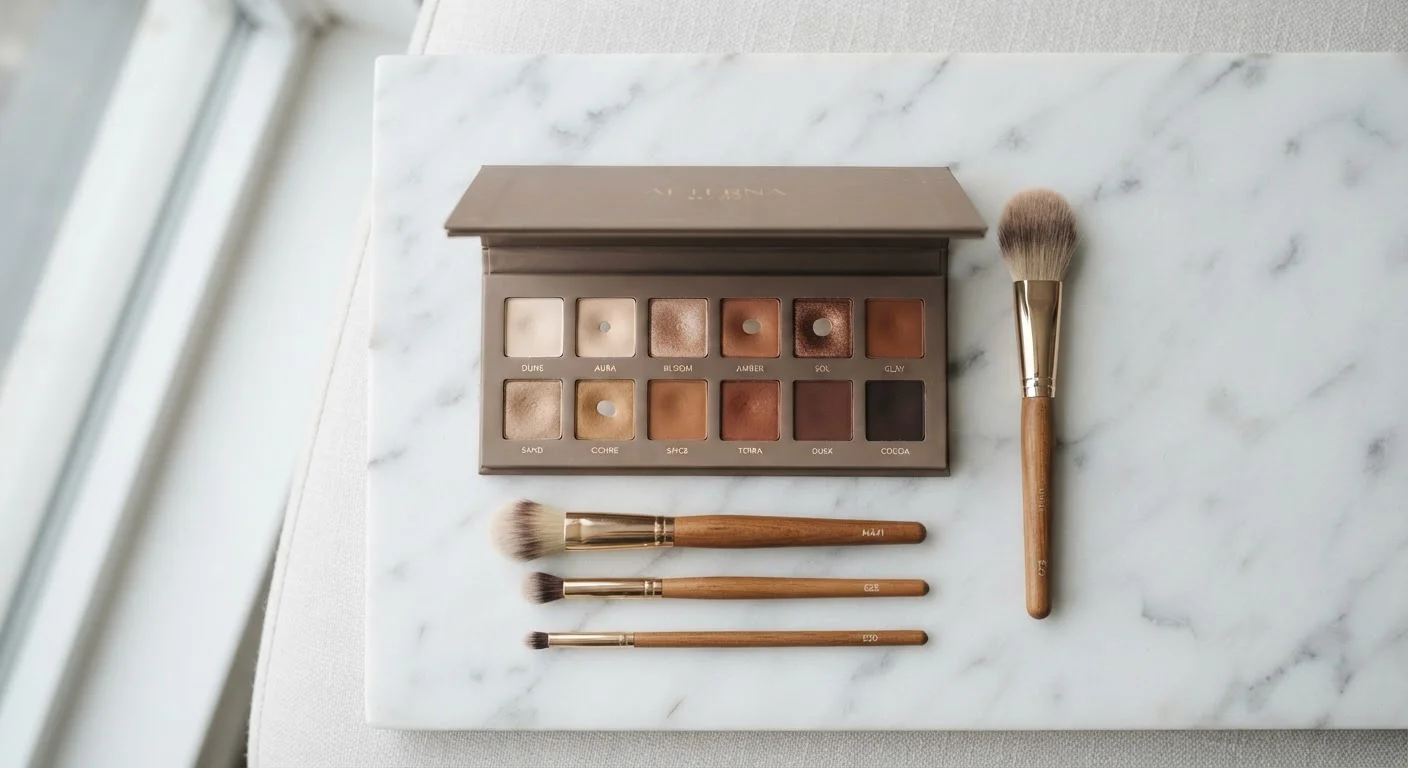
A neutral eyeshadow palette typically contains three functional shade categories: light base or highlight shades, mid-tone transition colours, and deeper shades for definition. Before picking up a brush, identify which shades in your palette fall into each category — regardless of finish. This single step changes how you approach the palette entirely.
Matte shades in the mid-tone range are your workhorses. They diffuse edges, blend seamlessly, and create shadow without shimmer interference. Shimmers and satins belong on the lid or brow bone, where light catches them intentionally. Darker mattes anchor the outer corner or lower lash line. Knowing this means you're reading your palette by function, not just by colour — and that's what allows one palette to produce genuinely different results across multiple looks.
For a broader framework on skill-building in this sequence, see our progressive makeup skills guide.
Best Practices for Getting Maximum Range from a Neutral Palette
Consistency in technique — not experimentation with new products — is what expands what you can do with a single palette. The following practices are grounded in how eyeshadow actually behaves on skin.
Always apply a matte transition shade before any other colour
Placing a mid-tone matte in the crease first creates a pre-blended base that makes every shade you layer on top look more seamless. It prevents the hard-edge look that comes from applying dark or shimmery shades directly onto bare skin. This step takes under a minute but raises the finish of the entire look.
Use a clean blending brush to soften every edge after application
Eyeshadow edges are almost never soft enough straight off the brush. A separate, clean fluffy brush used in small circular motions diffuses boundaries without removing pigment. This is the single technique that most distinguishes a polished look from an amateurish one.
Layer shades gradually with light-handed passes rather than heavy application
Eyeshadow is easier to build up than to correct. Starting light preserves control over intensity and allows you to adjust depth without muddying the palette or the look. Heavy initial application often compresses the shade into a solid block with no dimension.
Use the same palette's darkest shade as a wet eyeliner alternative
Dampening an angled brush and pressing it into the darkest matte or satin in the palette creates an eyeliner effect that matches the rest of the eyeshadow look perfectly. It's a softer effect than pencil or liquid liner, and it dramatically changes the overall intensity without requiring another product.
Map out three distinct looks before opening the palette each session
Approaching the palette with a loose plan — daytime wash, defined office look, dramatic evening — prevents you from defaulting to the same combination every time. Even brief mental planning encourages you to use shades across the full palette rather than wearing out a small cluster of favourites.
Building Looks from Simple to Complex
A reliable progression keeps the process manageable and avoids muddy colour buildup. Start with a wash of a single mid-tone matte across the lid and crease — this alone reads as a polished, wearable daytime look. Add a darker shade to the outer corner in a soft 'V' shape to create dimension without drama. A shimmer shade pressed onto the centre of the lid immediately lifts the look into evening territory.
The One-Shade Rule for Quick Looks
When time is short, choose a single mid-tone matte from your palette, sweep it across the entire lid and crease with a fluffy brush, and blend the edges. A one-shade approach with clean blending consistently looks more polished than a rushed multi-shade application. Finish with mascara and the look reads as considered rather than minimal.
The difference between a flat look and a dimensional one is almost always the transition shade — the medium-toned matte that connects lid colour to bare skin. Mastering this connection is the real skill. Our companion piece on blending eyeshadow technique covers the mechanics in detail.
Because neutral palettes are inherently versatile, they also align well with the principle of building a flexible foundation from fewer, better-chosen pieces — something that applies equally to neutral wardrobe building.
Quick Wins to Start Applying Today
You don't need a new palette to improve your results — you need to use the one you have more deliberately. These starting points create immediate, visible improvement.