

Key Takeaways
- Blending technique matters far more than the colours or palette you choose.
- Using a clean, fluffy brush in windshield-wiper motions is the core of effective blending.
- Layering shades from lightest to darkest prevents muddiness and maintains colour clarity.
- An eyeshadow primer creates the surface that makes blending significantly easier.
- Patience and light-handed pressure produce smoother transitions than heavy application.
What you will need
Why Blending Is the Real Skill
Walk into any beauty conversation and the focus almost always lands on colour — which palette to choose, which shade is trending, which combinations are flattering. But ask any makeup artist what actually separates a polished eye look from a patchy one, and the answer is consistent: blending technique. Colour is secondary.
Blending is the process of diffusing the edges of an eyeshadow so that shades transition into one another — and into bare skin — without a visible line of demarcation. When done well, it creates the illusion of depth and dimension. When skipped or rushed, even a well-curated palette looks clumsy. The good news is that blending is a learnable, repeatable skill, not an artistic talent you either have or don't.
This guide focuses on the foundational technique applicable to virtually every eye look, from a simple two-shade wash of colour to a more structured cut-crease. If you want to understand the terminology used throughout tutorials and on packaging, the Makeup Artist Glossary is a useful companion reference.
What You'll Need Before You Start
Having the right tools in place makes blending significantly more achievable. You do not need an extensive collection — three or four targeted brushes will cover almost every scenario.
Fluffy dome-shaped blending brush
Used to diffuse and buff eyeshadow edges in the crease and along shade boundaries — the most essential blending tool.
Flat shader brush
Used to pack and deposit eyeshadow colour onto the mobile lid with precision.
Small tapered blending brush
Used for detailed work in the outer corner and along the lower lash line where a larger brush is too imprecise.
Eye primer or concealer
Creates a uniform, grippy base that extends eyeshadow wear and makes blending significantly easier.
Matte transition shade
A neutral matte eyeshadow slightly deeper than your skin tone, used to build the gradient buffer in the crease.
What you will need
The Core Blending Technique, Step by Step
The steps below build on each other. Work through them in order, and resist the urge to rush the earlier stages — the payoff comes from the foundation you lay.
Prime the Eyelid
Apply a thin, even layer of eye primer to the entire lid from lash line to brow bone. Pat it in gently with a fingertip and allow it to set for 30–60 seconds. This creates a slightly tacky, uniform surface that helps eyeshadow adhere evenly and extends wear without creasing — both of which directly support clean blending later.
Define Your Transition Zone with a Neutral Shade
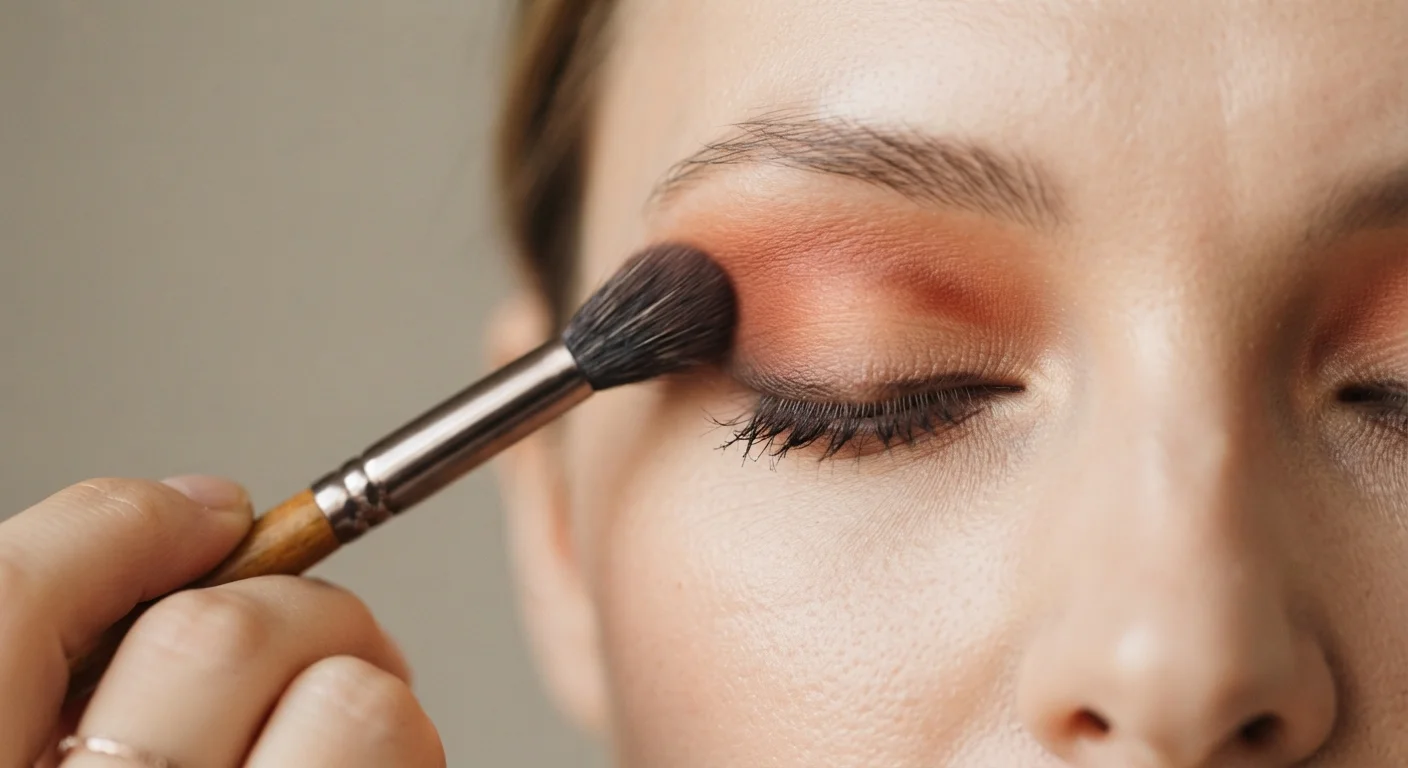
Load a fluffy, dome-shaped blending brush lightly with a matte shade that is one to two tones warmer or deeper than your skin tone — this is called a transition shade. Using back-and-forth windshield-wiper motions, apply it into the crease of your eye (the natural fold above the eyelid). Keep the pressure light; you are depositing a diffused wash of colour, not drawing a line.
The transition zone acts as a buffer between the lid shade and the brow bone. Establishing it first means you have a pre-blended gradient to blend into, which makes every subsequent step easier.
Apply Your Lid Colour
Switch to a flat, denser brush or use your fingertip to pack the main lid shade onto the mobile lid (the area below the crease). Pat the colour on rather than sweeping — this deposits pigment efficiently without disrupting the transition shade you've already placed. Build in two thin layers rather than one heavy application.
Blend the Boundary Between Lid and Crease
Take your clean fluffy blending brush — free of product — and work it in small, circular buffing motions directly along the boundary where the lid colour meets the transition shade. The goal is to erase the visible edge between the two shades, creating a gradient rather than a stripe. Work lightly and gradually; it takes less pressure than most people expect.
If the edge still appears stark after buffing, pick up a tiny amount of the transition shade on the brush and blend upward from the boundary in windshield-wiper motions to soften it further.
Deepen the Outer Corner (Optional but Impactful)
For added dimension, apply a darker matte shade to the outer third of the lid and into the outer crease using a smaller, tapered blending brush. Use the same windshield-wiper motion, working the colour in a soft V-shape toward (but not reaching) the inner corner. Blend where this deeper shade meets the main lid colour using small circular motions, exactly as in Step 4.
This step is optional for a simple everyday look but creates the sense of depth that makes the eye appear more three-dimensional.
Highlight the Brow Bone and Inner Corner
Apply a light matte or subtly shimmery shade to the brow bone (just beneath the arch) and the inner corner of the eye. Use a small brush or fingertip and blend the lower edge of the highlight downward so it fades into the transition shade without a harsh line. This final step frames the eye, adds lift, and completes the gradient from dark to light across the lid.
Build Up, Not Out
The most common blending error is applying too much product in one go and then trying to move it. Instead, work in thin layers — apply a little, blend, assess, then add more if needed. You can always deepen a look by layering; removing excess pigment once it's blended in is significantly harder. This incremental approach is the single habit that most rapidly improves blending results.
For a deeper look at how these blending principles apply within a specific palette format, the article on getting the most from a neutral palette shows practical colour combinations that reward exactly this technique.
Common Mistakes and How to Correct Them
Even with the right brushes and correct motion, a few habits consistently undermine blending results.
- Too much product on the brush at once. Excess pigment is difficult to diffuse cleanly. Tap off the excess before every application and build in thin layers.
- Pressing instead of sweeping. Pressure deposits product; sweeping moves it. Reserve pressing motions for packing colour onto the lid; use a light touch for all blending work.
- Using the same brush for application and blending. An application brush (flat, dense) is designed to deposit pigment. A blending brush (fluffy, dome-shaped) is designed to diffuse it. They serve opposite purposes and shouldn't be swapped mid-look.
- Skipping primer. On bare skin — especially on lids with natural oils — eyeshadow shifts and creases, making clean blending almost impossible to maintain. A dedicated eye primer or a thin layer of concealer patted dry provides the grip that keeps blended edges where you placed them.
Don't Blend When the Product Is Wet
Cream eyeshadows and intensely pigmented pressed shadows applied with a wet brush will not respond to dry blending brushes in the same way as standard powder formulas. If you're working with cream textures, blend immediately after application using a clean finger or a silicone tool — once they begin to set, they resist movement. Attempting to blend a set cream shadow with a dry brush typically results in pilling or patchy streaks rather than a smooth gradient.
Blending is one component of a broader skill set. If you're building your makeup fundamentals progressively, the guide to makeup techniques by skill level outlines a sensible learning sequence. And once your eye look is set, preventing mascara from smudging is the next practical concern to address.