

Key Takeaways
- Blush placement varies by face shape and directly affects how balanced your features appear.
- Round faces benefit from angled placement toward the temples; oval faces have the most flexibility.
- Square faces soften with blush swept upward, while heart-shaped faces need color lower on the cheeks.
- A fluffy brush and light-handed application let you build and correct placement gradually.
- Identifying your face shape first makes every subsequent application decision faster and more consistent.
What you will need
Why Placement Matters More Than Shade
Most blush frustration isn't about the color — it's about where it lands. Applied in the wrong zone for your face shape, even a flattering shade can make features look heavier, wider, or unbalanced. Applied correctly, blush creates the optical illusion of lift and structure without any contouring required.
The principle is straightforward: blush draws the eye. Place it where you want attention, and it visually reshapes the face's proportions. That's why a swept-up application that looks luminous on an oval face can make a round face appear fuller. Placement is the variable; shade is secondary.
Before you start, it helps to identify your face shape by looking straight into a mirror and tracing the outer edge of your face with a dry-erase marker or simply assessing the widest point, the jawline, and forehead width. This single step eliminates guesswork for every application that follows. For a broader roadmap of makeup skills to build on, see this progressive makeup guide.
What you will need
Tools and Preparation
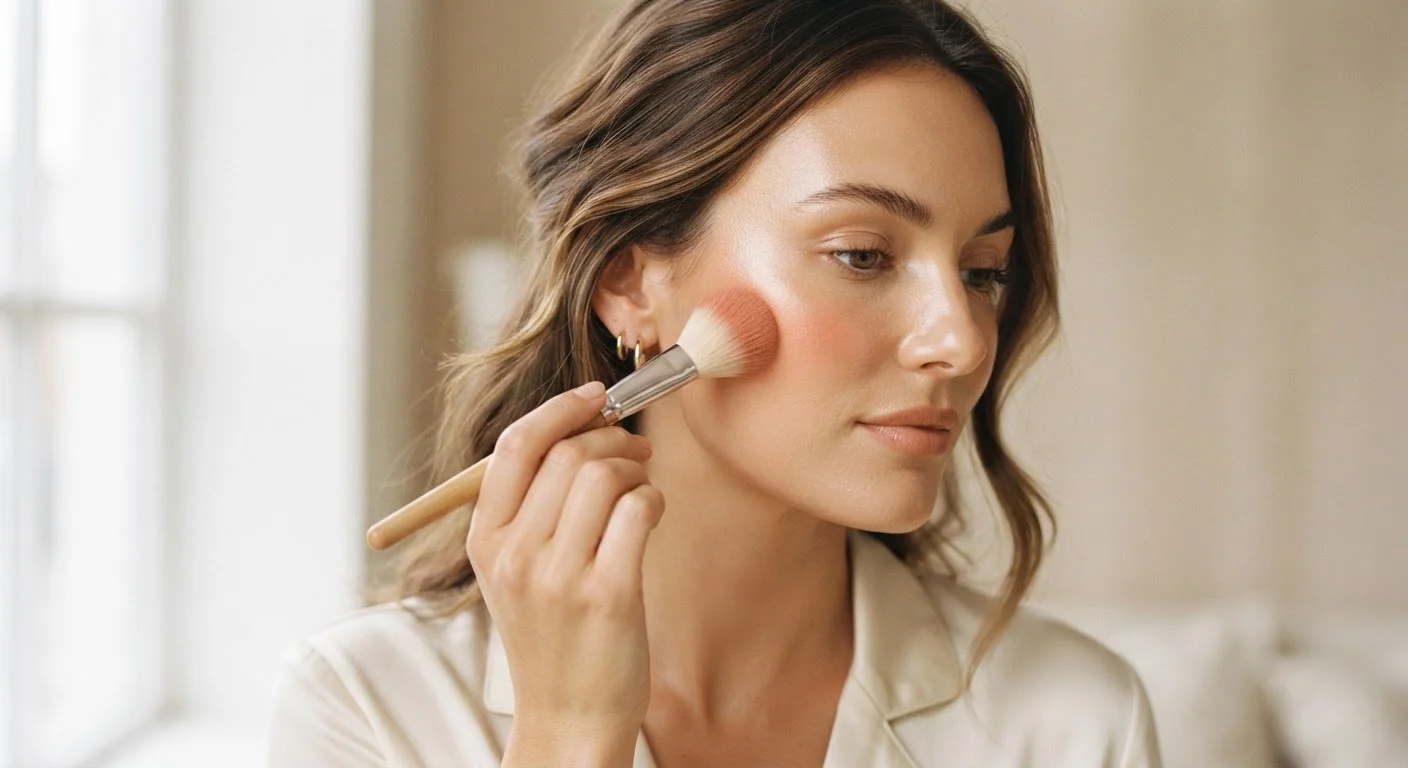
The right tools make placement precise and blendable. A fluffy, dome-shaped blush brush gives the most control for most face shapes. Angled brushes work well for defined, diagonal placement — useful on square and heart-shaped faces. Fan brushes deposit color lightly and suit a softer, diffused finish.
Regardless of formula (powder, cream, or liquid), apply blush after foundation and concealer but before setting powder if you use one. This order ensures blush sits on an even base and can be set in place without muddiness. Tap off excess product from the brush before touching your face — this prevents overloading and gives you more control over gradual buildup.
Fluffy dome blush brush
Deposits and diffuses blush evenly across the cheekbone for a natural finish.
Angled blush brush
Creates defined, directional placement — particularly effective for square and heart-shaped faces.
Fan brush
Applies a sheer, airy layer of blush — ideal when a very soft, diffused result is desired.
Loose or pressed setting powder
Used after blush to lock placement in place and reduce intensity if over-applied.
Step-by-Step: Blush by Face Shape
Follow the steps below according to your face shape. If you're uncertain between two shapes, try the technique for each on separate occasions to see which result you prefer — there's no single definitive method.
Round Face: Angle Blush Toward the Temples
Round faces have roughly equal width and length with soft, curved edges at the jaw. The goal is to add visual length and reduce the appearance of width.
- Smile gently to locate the apple of the cheek, then immediately move your brush up and diagonally toward the top of the ear.
- Keep placement in the upper third of the cheek area — the higher the blush sits, the more it elongates.
- Avoid circular or horizontal application directly on the apple; this emphasizes width.
Oval Face: Work From the Cheekbones Outward
Oval faces have a forehead slightly wider than the jawline with balanced proportions. This shape accommodates the widest range of blush placements.
- Start at the center of the cheekbone — roughly level with the pupil — and sweep blush outward toward the hairline.
- You can apply along the full cheekbone or keep color higher for a lifted look, depending on the effect you want.
- Both horizontal and diagonal sweeps work; experiment to find your preferred result.
Square Face: Soften the Jaw With an Upward Sweep
Square faces have a strong, angular jawline roughly as wide as the forehead. The goal is to soften angles and draw attention upward and inward.
- Apply blush starting slightly inward from the cheekbone's highest point and blend upward and outward toward the temple.
- Avoid placing blush close to the sides of the face or near the jawline — this reinforces width rather than softening it.
- Keep the center of the face relatively lighter to balance the stronger jaw.
Heart Face: Place Color Lower on the Cheeks
Heart-shaped faces are widest at the forehead and temples, tapering to a narrow, often pointed chin. The goal is to add visual width at the center and lower face to balance the broader top.
- Apply blush directly on the apples of the cheeks and blend horizontally outward rather than upward.
- Keep placement lower on the cheekbone — roughly level with the tip of the nose — so color draws the eye to the midface rather than the temples.
- Avoid sweeping blush high toward the temples, which would emphasize the already-wide upper face.
Once you've established your placement, the finishing principle is the same for all face shapes: blend the edges of the blush outward so there's no visible demarcation. Blush should look like it's coming from under the skin, not sitting on top of it. For a complementary skill, the same edge-blending logic applies in eyeshadow blending technique.
Troubleshooting Common Mistakes
The most frequent error is applying blush too low — dragging color down toward the mouth instead of up toward the temples. This pulls the face downward visually. As a general reference point, blush should not dip below the tip of your nose.
Applying too much product at once is the second common pitfall. Build slowly: one light pass, step back from the mirror to assess, then add more if needed. If you've over-applied, pressing a clean powder puff or setting powder over the area gently mutes the intensity without disrupting placement.
The Smile-Then-Move Rule
Smiling to find the apple of your cheek is a helpful starting reference, but don't apply blush while smiling — it shifts the skin and can result in placement that looks too low or too round once your face relaxes. Use the smile to locate the apple, then release your expression before brushing on color.
Finally, lighting matters during application. Overhead lighting — common in bathrooms — can make blush look more intense than it appears in natural light. If possible, check your finished look near a window before heading out. For a broader look at how blush fits into a complete routine, see the case for and against a full-face routine.